Dummy dome cameras offer a stealthy yet effective security solution for homes and businesses by mimicking real surveillance equipment. When installing these fake cameras on brick surfaces, strategically choose locations with clear lines of sight, avoid obstructions, use brick-specific mounting brackets, focus on entrances, windows, and pathways, ensure adequate lighting, and adjust mounting heights. This guide provides a straightforward, step-by-step process for installation while prioritizing legal compliance and safety, ensuring the setup doesn't create false visual representations.
“Uncover the power of dummy dome cameras with blinking LED lights—a smart security solution for any home or business. This comprehensive guide explores the benefits of these realistic fake cameras and their role in deterring crime. We’ll navigate the selection process, offering tips on choosing the ideal location for mounting fake cameras on brick walls. From installation to legal considerations, learn how to set up a secure environment with our step-by-step guide, ensuring both safety and peace of mind.”
- Understanding Dummy Dome Cameras and Their Benefits
- Choosing the Right Location for Mounting on Brick Walls
- Installation Process: A Step-by-Step Guide
- Legal Considerations and Safety Tips for Fake Camera Setup
Understanding Dummy Dome Cameras and Their Benefits
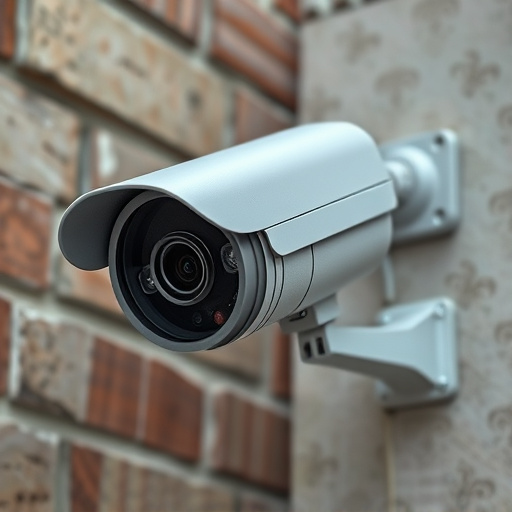
Dummy dome cameras, also known as fake or mock security cameras, offer a unique and often underestimated solution for home and business security. These devices are designed to mimic real surveillance cameras, featuring a clear plastic dome with a blinking LED light, providing an effective deterrent against potential intruders. One of their key advantages is the ability to install them on various surfaces, including brick walls, without drawing attention to themselves. This stealthy approach is particularly appealing for those seeking an unnoticeable security enhancement.
When mounting fake cameras on brick, it’s crucial to consider both aesthetics and functionality. The sturdy construction of dummy dome cameras ensures they can withstand outdoor conditions while remaining discreet. Many models offer adjustable mounting brackets, allowing for precise placement, which is especially useful when targeting specific areas or blind spots around a property. This simple yet powerful tool provides peace of mind by simulating an active security system, potentially discouraging criminals and enhancing overall safety.
Choosing the Right Location for Mounting on Brick Walls
When considering where to mount dummy dome cameras with blinking LEDs on brick walls, it’s crucial to select spots that offer optimal visibility and protection. The ideal location should provide a clear line of sight for the camera lens, ensuring minimal obstruction from overhanging branches or other structures. Brick walls offer a sturdy surface for mounting, but it’s essential to use appropriate brackets designed for brick to avoid damaging the wall or the camera setup.
Focus on areas where potential intruders would be visible, such as entrances, windows, or commonly used pathways. The blinking LED feature adds an extra layer of security by deterring unauthorized access and providing a visual indication of surveillance. Additionally, consider factors like lighting conditions; the camera should be well-lit to capture clear images, especially at night. Proper mounting height ensures that the camera can effectively monitor the targeted area without compromising privacy or aesthetics.
Installation Process: A Step-by-Step Guide
Installation Process: A Step-by-Step Guide for Mounting Fake Cameras on Brick
Begin by selecting a location on your brick wall that offers optimal visibility and security. Use a level to ensure the camera is straight and aligned correctly. Next, gather your tools: a drill with a masonry bit, the dummy dome camera, screws designed for brick walls, and a screwdriver. Create a pilot hole using the masonry bit; this prevents cracking and makes screwing in easier. Insert the screws into the wall, ensuring they’re secure and level. Finally, attach the dummy dome camera to the screws, tightening the screws firmly but gently. The blinking LED will add an authentic touch, enhancing the security appearance of your property.
Legal Considerations and Safety Tips for Fake Camera Setup
When setting up dummy dome cameras with blinking LEDs, especially if mounting them on brick surfaces, it’s crucial to consider legal implications and safety standards. In many regions, the use of security cameras is governed by strict privacy laws, even for fake or simulated cameras. While these devices are designed to deter crime and provide a sense of security, they must be installed responsibly. When mounting fake cameras on brick, ensure that the setup doesn’t create any false visual representations that could mislead passersby or violate local regulations.
Safety tips include ensuring the stability of the camera mounts to prevent them from becoming projectiles in windy conditions. Additionally, use bright and visible LEDs to signal their presence as deterrents without causing excessive light pollution. Remember to regularly inspect the cameras for any signs of damage or tampering, which could compromise their effectiveness as a deterrent. Always follow local guidelines regarding the placement of security devices to maintain compliance with safety standards and legal requirements.
Dummy dome cameras with blinking LEDs offer a cost-effective security solution, especially when strategically mounted on brick walls. By following the steps outlined in this guide, from understanding their benefits and choosing the right location to legal considerations, you can effectively deter crime and create the illusion of enhanced surveillance. Remember, while these fake cameras are not a substitute for real security systems, they can serve as a powerful deterrent in many situations.