To mount fake security cameras on brick walls effectively, place them at eye level (7-10 feet above ground) for maximum coverage and deterrence. Opt for flat, smooth areas free from obstructions, ensuring clear views with optimal lighting conditions. Use sturdy outdoor brackets made from weather-resistant materials like aluminium or stainless steel, following manufacturer guidelines for drilling into brick to avoid damage. Choose cameras with intricate details and realistic styling, positioning them at varying heights and angles while matching the color closely to the brick tone. Test configurations before final installation for a natural blend.
Mounting fake security cameras on brick walls is an effective way to enhance home or business security while maintaining a realistic appearance. This guide delves into the optimal mounting heights for comprehensive coverage, strategic placement on brick surfaces, and essential hardware considerations for a secure setup. Learn how to integrate faux cameras unnoticeably, ensuring peace of mind without compromising aesthetic appeal in terms of Mounting Fake Cameras on Brick Walls.
- Understanding Mounting Heights for Optimal Coverage
- Choosing the Right Brick Wall Placement for Fake Cameras
- Hardware Considerations: Ensuring a Secure Setup
- Visual Realism: Tips for Unnoticeable Integration of Fake Security Cameras on Brick Walls
Understanding Mounting Heights for Optimal Coverage
When mounting fake security cameras, understanding the optimal height is crucial for achieving maximum coverage and deterring potential criminals. In general, placing cameras at eye level or slightly elevated is recommended. For brick walls, a typical ideal height would be around 7-10 feet (2.1-3 meters) above ground level. This positioning ensures that the camera has a clear view of the area without being easily obstructed by tall plants, signs, or other objects.
Mounting fake cameras on brick requires careful consideration of the wall’s texture and angle. Brick walls can reflect light differently than smooth surfaces, so adjustments in camera placement may be needed to compensate. Additionally, securing the camera at the appropriate height ensures that it captures clear footage without being too high or low, covering blind spots and providing a comprehensive view of your property’s security.
Choosing the Right Brick Wall Placement for Fake Cameras
When considering where to mount fake security cameras on a brick wall, it’s essential to select locations that offer optimal visibility and deter potential intruders. Brick walls provide a sturdy foundation for camera placement, but not all spots are created equal. Look for areas where the wall is flat, smooth, and free from obstructions like overhanging branches or other buildings. A common and effective strategy is to mount cameras at eye level, simulating real surveillance equipment. This height allows for clear, unobstructed views while also blending in with genuine security installations.
Consider the lighting conditions as well; ideal spots often have natural or artificial light sources behind the camera, ensuring a well-lit field of view. Avoiding direct sunlight can prevent glare and ensure consistent performance throughout the day. Remember, the goal is to create the illusion of a fully functional security system, so strategic placement on a brick wall is key to achieving this effect.
Hardware Considerations: Ensuring a Secure Setup
When setting up mounting fake cameras, especially on brick surfaces, it’s crucial to consider the hardware for a secure setup. The right tools and materials can make all the difference in ensuring your camera remains in place and functional. Begin by selecting sturdy brackets designed specifically for outdoor use and brick walls. These brackets should be made from weather-resistant materials like aluminium or stainless steel to withstand various environmental conditions.
Additionally, utilize high-quality screws and anchors suitable for brick construction. The right hardware will prevent any unwanted movement or shifting, which could compromise the camera’s stability and overall security. Make sure to follow manufacturer guidelines when drilling into brick to avoid structural damage or weakening the wall’s integrity.
Visual Realism: Tips for Unnoticeable Integration of Fake Security Cameras on Brick Walls
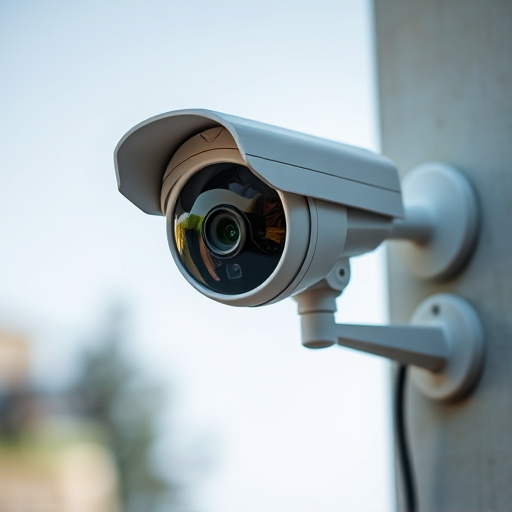
When integrating fake security cameras onto brick walls, visual realism is paramount to avoid detection. To achieve a convincing look, choose models with intricate details and realistic styling. Look for cameras with a slightly textured surface mimicking the appearance of real hardware, and consider those with subtle lighting elements to enhance the illusion. Positioning is key; place the cameras at varying heights and angles to mimic the natural distribution of real security gear.
For an unnoticeable blend, match the camera’s color as closely as possible to the brick’s tone. A slight variation is acceptable, but a stark contrast will draw attention. Additionally, consider the wall’s texture—a rougher surface allows for more subtle mounting while smoother walls might require more precise placement to avoid visibility. Always test different configurations before final installation, ensuring each camera appears natural and seamless in its setting.
Mounting fake security cameras on brick walls requires a strategic approach, balancing functionality with visual realism. By understanding optimal mounting heights for comprehensive coverage, selecting the ideal brick wall placement for seamless integration, and ensuring secure hardware setup, you can create an effective yet unnoticeable security system. These tips empower you to transform your brick wall into a sophisticated surveillance solution without compromising aesthetics.